Blog Categories
Our digital guides help you style, furnish, and personalize your home with expert tips and design rules—taking the guesswork out of decorating.
The No-Stress Way to Design
Your go-to designer BFF, here to help you layer color, pattern, and personality into every room—whether it’s a full home or just one space.
Hey, I'm Melissa!
Pull up a kitchen stool, sip on some iced coffee, and explore our free tools to kick-start your home design projects.
Explore Our Free Design Tools
From New Build Construction to New Beginnings
Filed under:
Lessons from a Major Home Construction Project
We all love an impactful before-and-after in the interior design world! We recently completed our largest MMDH residential new build project to date. In this post, we’re sharing progress photos and key tips we gained throughout the construction process of this incredible home.
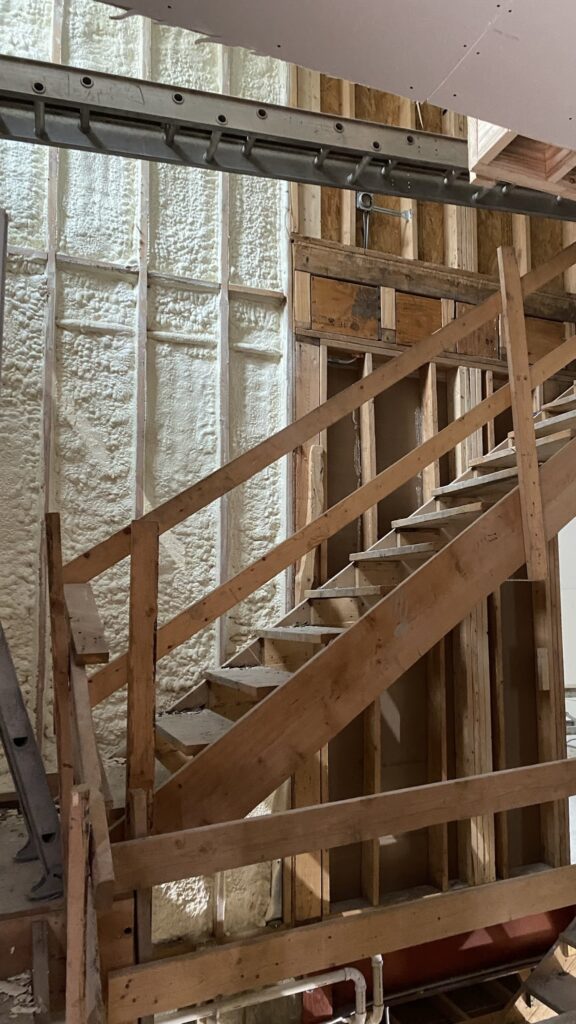
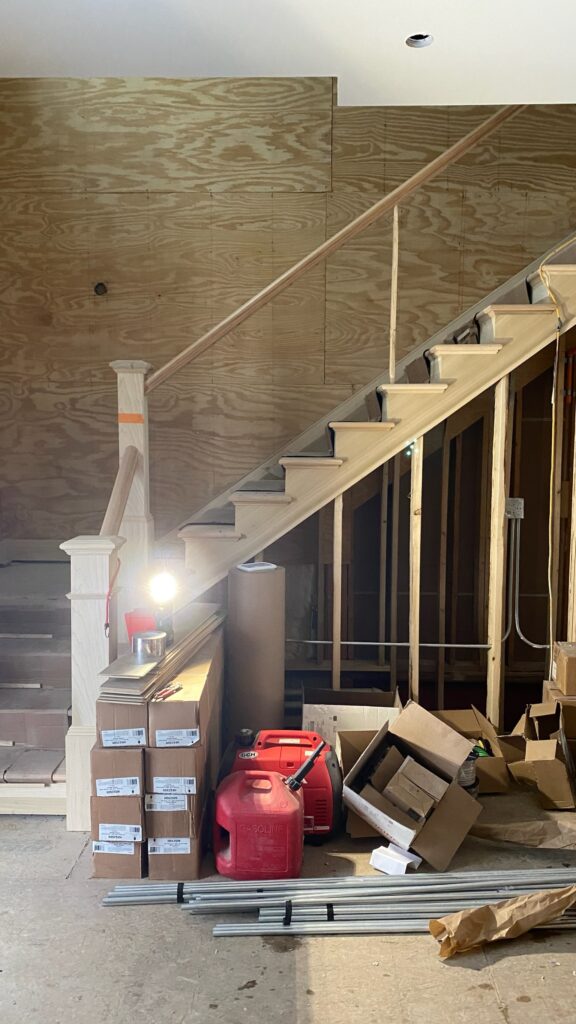
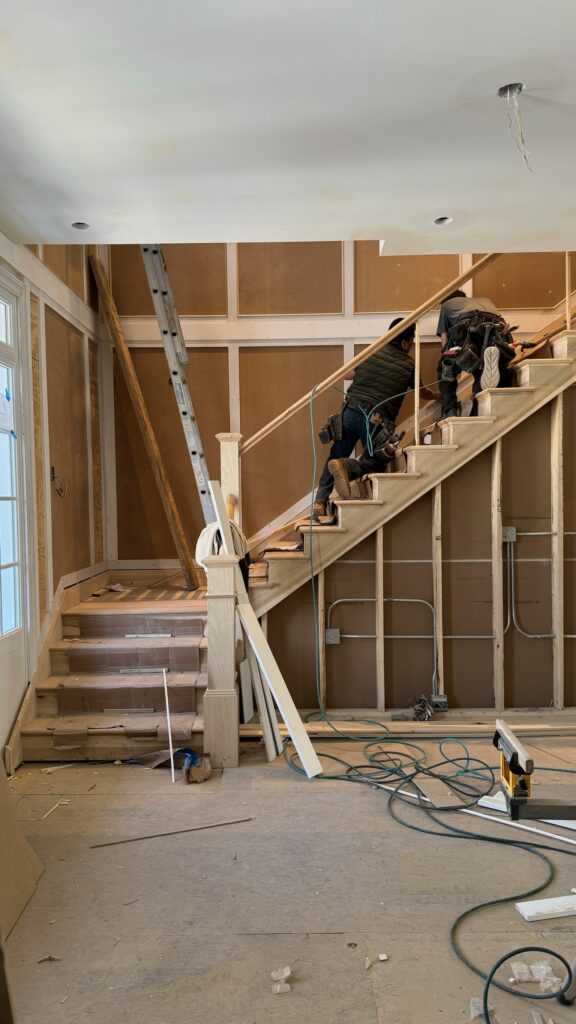
Construction projects are not for the faint of heart, and a custom home is no exception. I’ve worked on major construction projects for 20 years, diving in headfirst after design school. Even now, I’m still learning with every new project. Through this journey, we’ve gathered invaluable insights that I’m excited to share—insights that will help you navigate your own construction projects with confidence and clarity.
Whether it’s your first or fourteenth construction project, give yourself grace. It will all come together in the end.
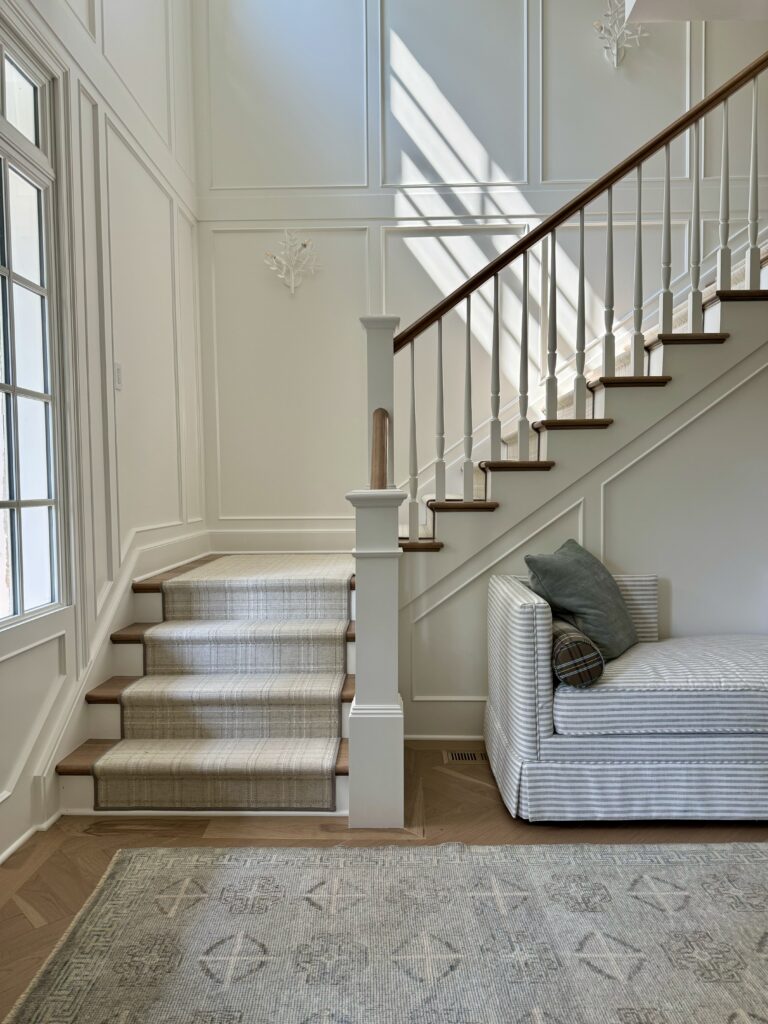
The Right Mindset for New Build Construction Projects
No matter what the scope is of your project, there is going to be a point of overwhelm for everyone involved. It doesn’t matter how many times you have dug a hole or torn down a wall, you very quickly hit a potentially daunting point of no return on your project. At that point, your one choice is to keep moving forward.
The end result of any project is what keeps so many of us coming back for more. It is the “after” that makes the entire process so worth it.
Maintaining the right mindset throughout the process is crucial to navigating these moments. For more tips on cultivating a strong mindset during home projects, check out our detailed blog post here.
Managing Timing in New Build Construction Projects
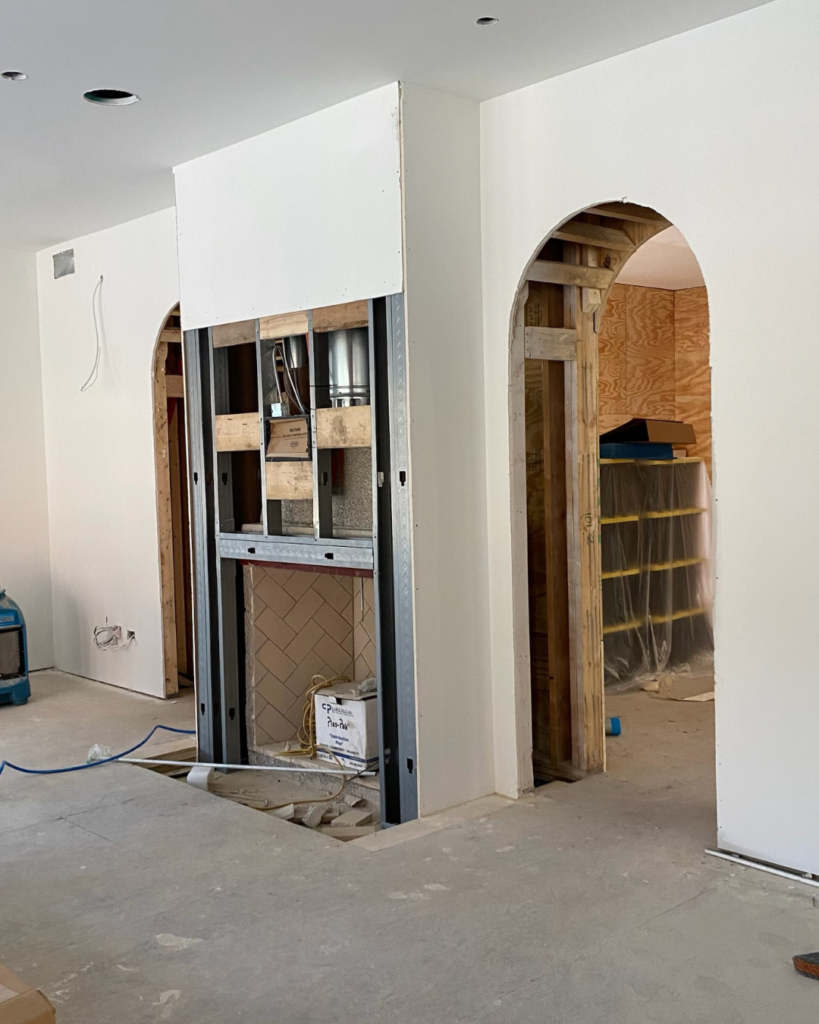
Nothing happens overnight in a construction project. The 12 to 18 months between the framing photos and the current status photos of this project felt like a lifetime, especially when the property is uninhabitable.
I vividly remember renovating the first floor of my own home. My husband and I moved into my sister’s basement with a toddler and an infant for the entire 13-week duration of construction. Within the first few days, the first floor of our home was completely torn out, and panic set in – What on earth happens if they can’t put this all back together?!
But rest assured, it always comes back together. To ensure a smooth process, it’s crucial to keep your team aligned on timing through weekly check-ins and status updates. This approach is key to managing everyone’s expectations and maintaining momentum.
The Importance of Progress Photos
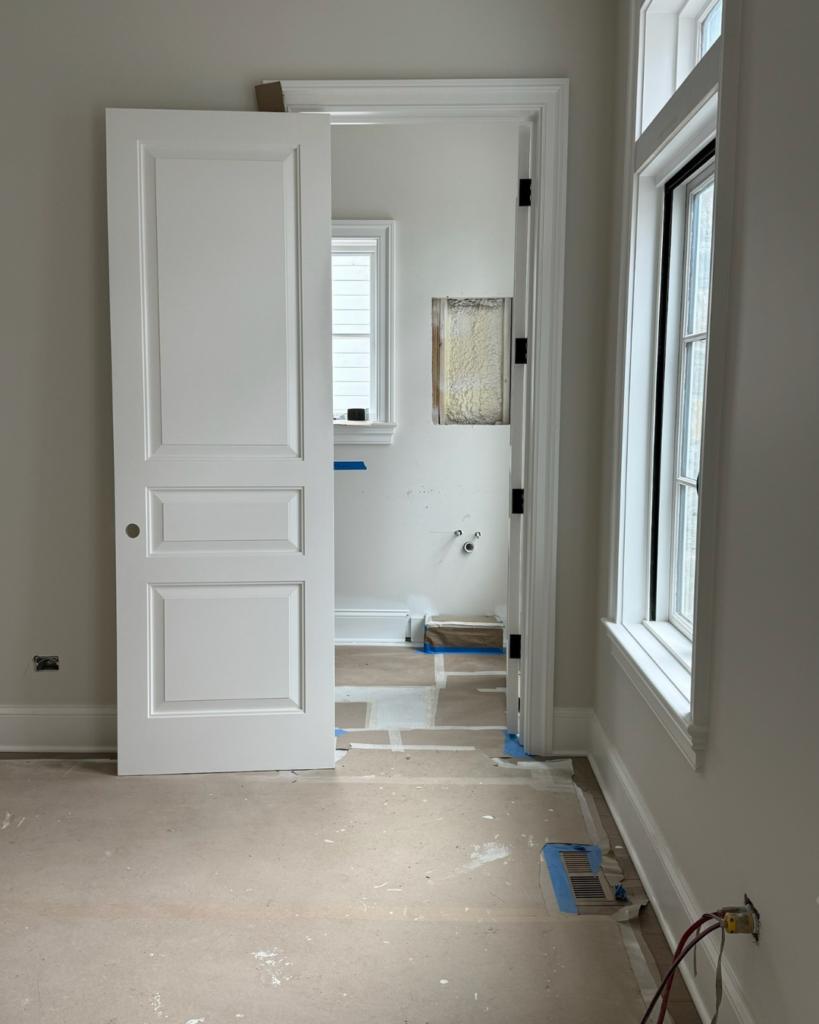
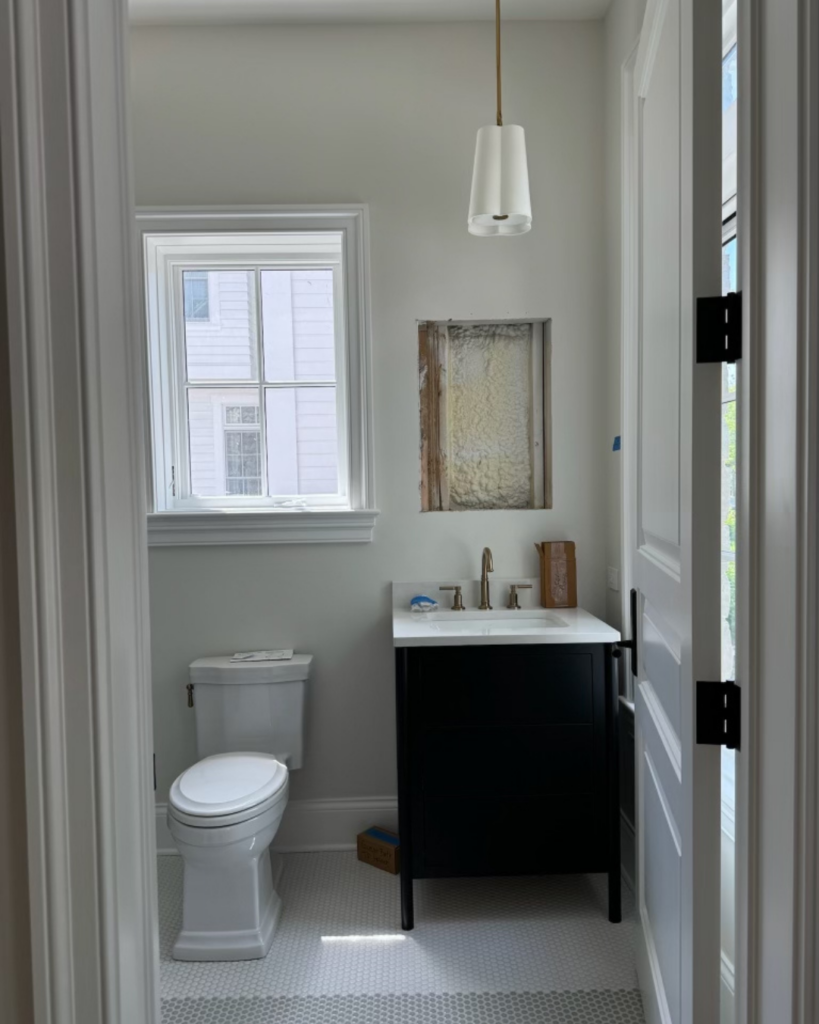
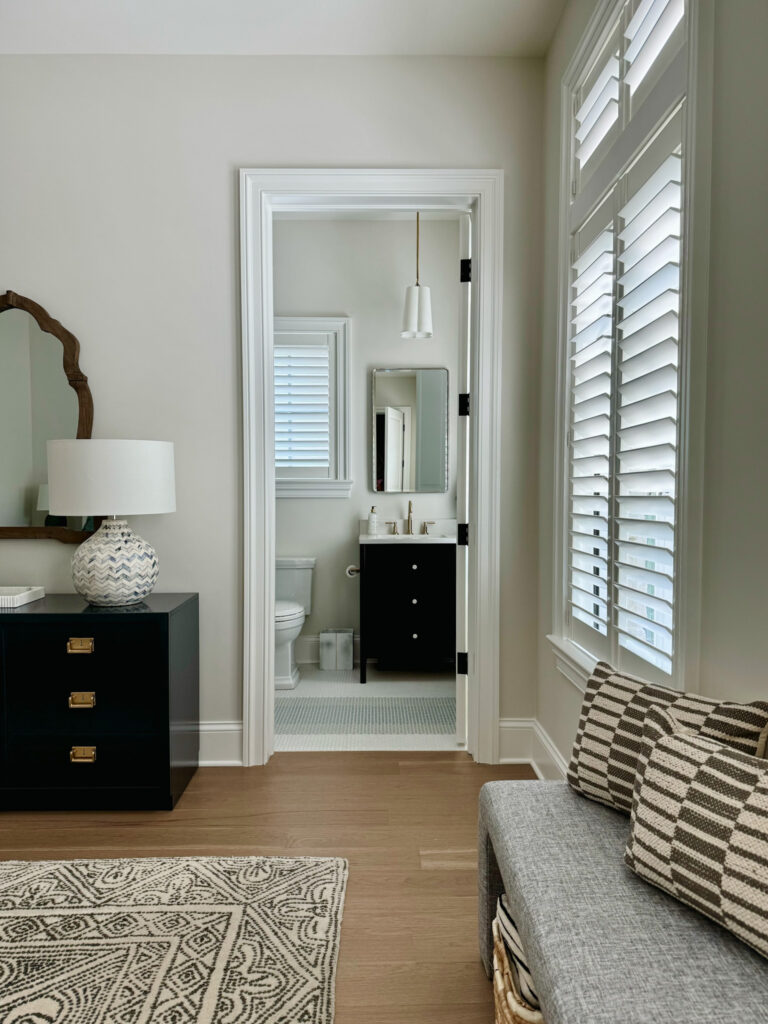
It is great to look back at photos to see all of the decisions being made and lessons being learned in each phase of a construction project. Seeing the progress of how far you have come completely validates why you have taken any project on.
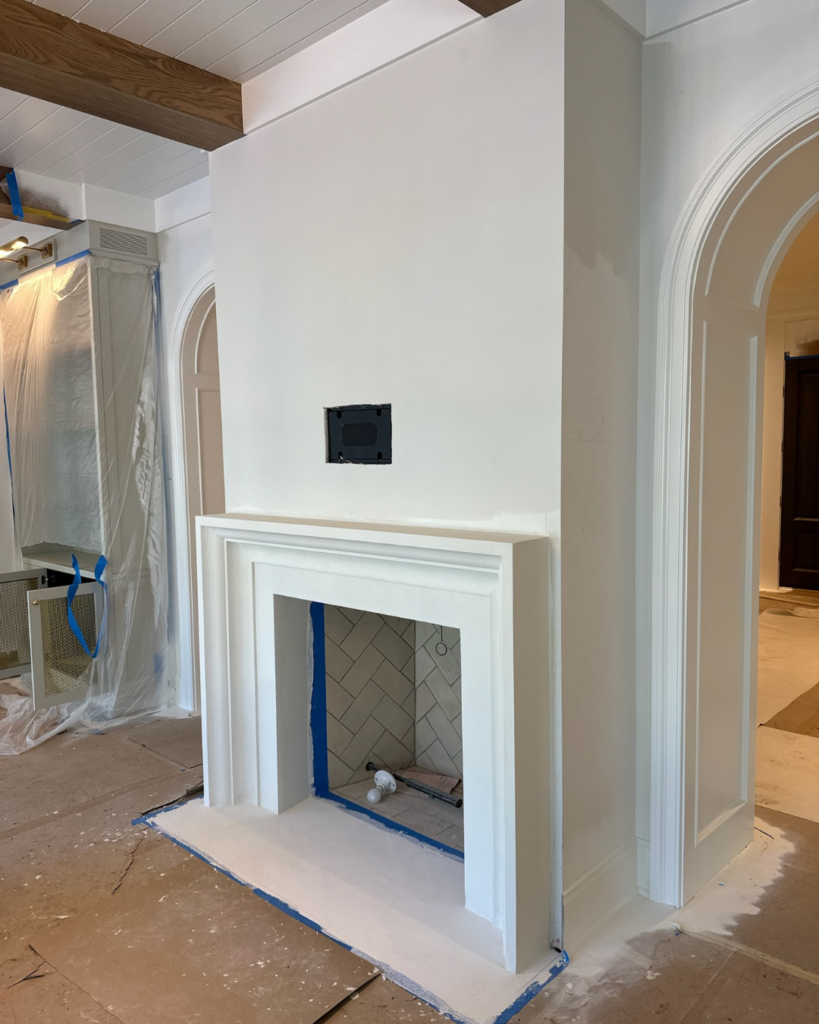
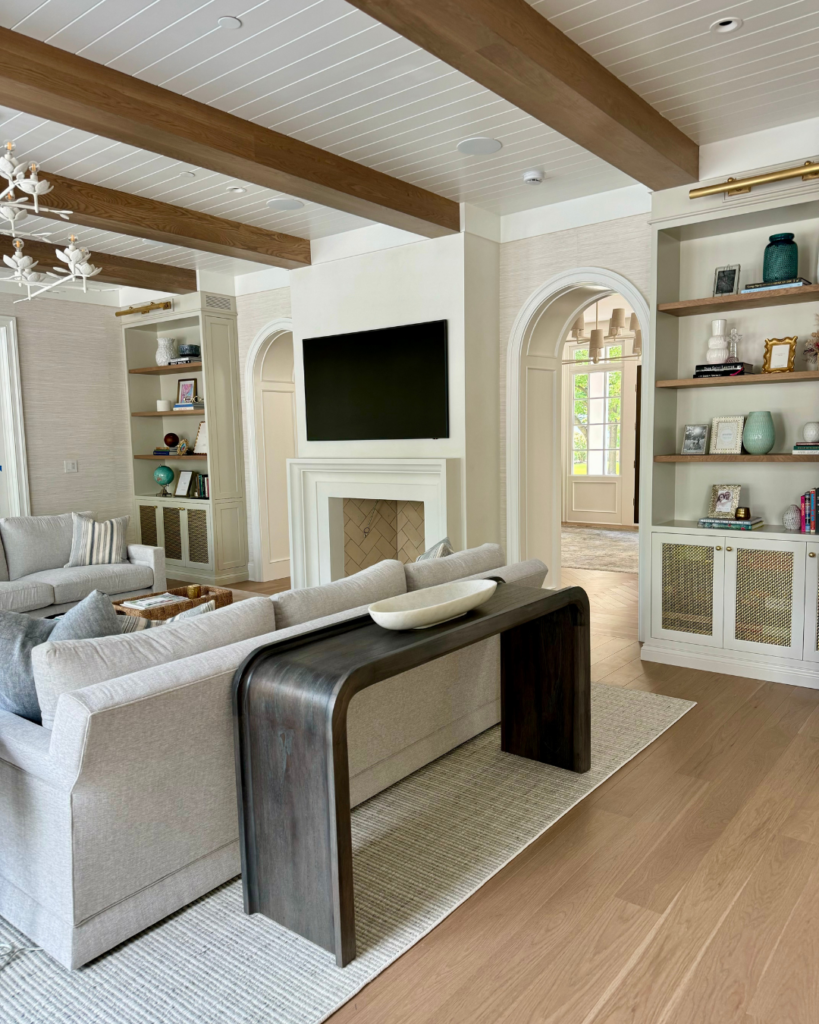
Milestone photos from the same angles can be the most rewarding. You can see the layers being added [and decisions being made] between each phase and trade so clearly.
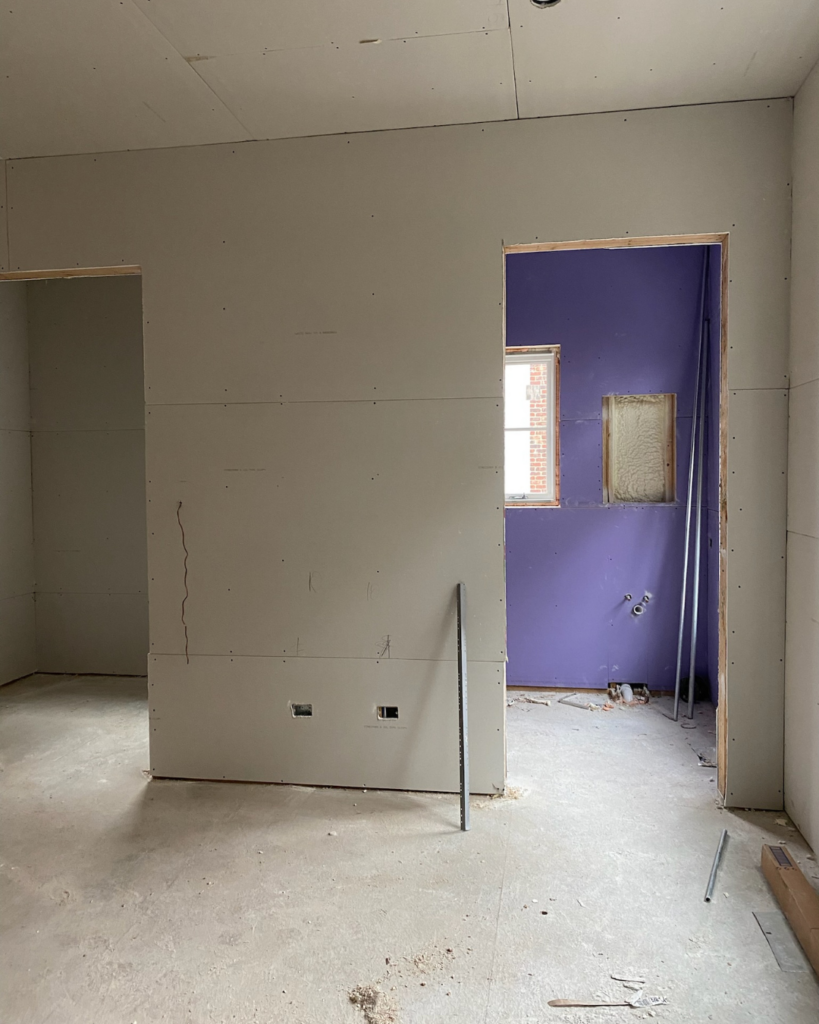
Having progress photos of what is inside your walls once everything is closed up is a bonus. Post construction status photos confirm what items still need to be added and adjusted.
Currently, we’re wrapping up artwork, accessories, and filler furnishings for this home. Dissecting status photos throughout the construction and furnishing process is a critical step that’s easy to overlook amid the overwhelm. However, focusing on one angle at a time, rather than the entire project, can reveal so much more as you walk around the site.
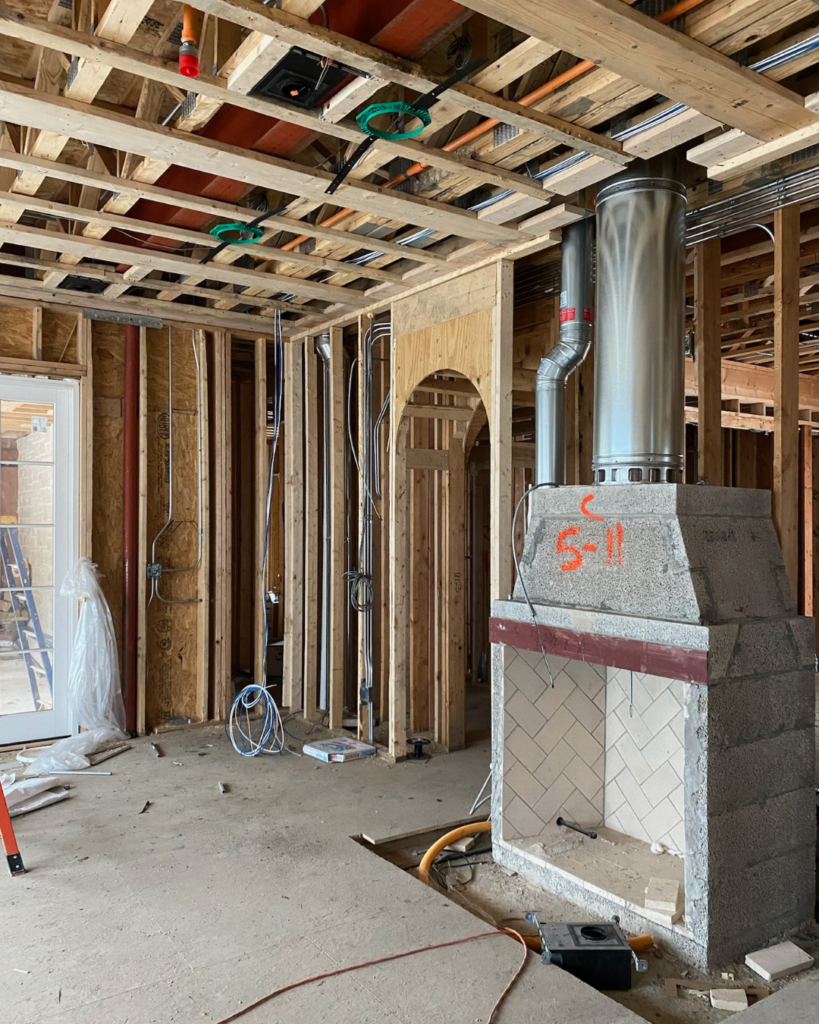
Mastering the Details
The trim details were one of my major learning curves on this project. They were a new animal for me.
Typically, you might select a standard profile option from a millwork vendor for wall base, door and window casings, and crown molding. However, on this project, we decided to go beyond the basics. We added wall and ceiling paneling in select areas that required more thoughtful attention.
Finding inspiration is never the difficult part—the real challenge lies in the details, the installation methods, and the specific conditions unique to each home. Each surface requires teamwork and troubleshooting. But rest assured, the time and effort put into these details will always pay off in the final product.
You can see through progress photos how every piece of trim creates a more inviting and established feeling in the end result.
Take the Guesswork Out of Home Design with The MMDH Furnishing Rules of Thumb
Bringing a vision to life—whether in a new build or a room refresh—requires attention to detail, thoughtful planning, and a clear understanding of what works (and what doesn’t). From mastering scale and proportion to making layout decisions that actually function for your lifestyle, the right design choices make all the difference.
If you’re feeling stuck on furniture placement, proportion, or styling, The MMDH Furnishing Rules of Thumb is here to help.
Inside, you’ll find:
✔ Expert guidelines for selecting the right furniture scale and arrangement in every room
✔ Tried-and-true styling strategies for coffee tables, shelves, and entryways
✔ Practical insights from 20+ years of design experience to help you avoid costly mistakes
✔ Step-by-step layouts and real-life examples to guide you through the process
Whether you’re furnishing a brand-new space or refining an existing one, this guide is your shortcut to a home that looks and feels effortlessly put together. Ready to make design decisions with confidence? Grab The MMDH Furnishing Rules of Thumb and take the stress out of styling your home.
xo,

If you‘re looking for more tips for your home design projects, check out these posts:
Beyond Neutrals: Choosing Bold Interior Paint Colors for 2025
Our Pinterest boards are filled with fresh home inspiration and decorating ideas waiting for you to explore.
See What’s Sparking Our Creativity
Leave a Reply Cancel reply
INTERIOR DESIGNER, EDUCATOR, MOM OF 2, CURATOR, HOMEBODY, ANTHEM LOVER, OPEN-MINDED LEARNER, AND RESOURCE FOR YOU...
I love the hunt for diamonds in the rough, the art of styling unexpected combinations that speak to you, and the process of helping you curate a home that basically gives you a massive hug as you walk in the door.
